HOME
|
Raspberry Pi
|
ビジネス書籍紹介
|
2026-04-07 (Tue) Today's Access : 639 Total : 1321910. Since 10 Sep. 2019
Raspberry Pi(ラズベリー パイ)は、ARMプロセッサを搭載したシングルボードコンピュータ。イギリスのラズベリーパイ財団によって開発されている。 日本語では略称としてラズパイとも呼ばれる。 教育で利用されることを想定して制作された。 IoTが隆盛した2010年代後半以降は、安価に入手できるシングルボードコンピュータとして趣味や業務等としても用いられるようになった。 出典: フリー百科事典『ウィキペディア(Wikipedia)』
【ラズパイで作る自宅WEBサーバ構築 ubuntu18】
2019.10.15 第1回 前準備
2019.10.20 第2回 Ubuntu Server インストール
2019.10.27 第3回 Ubuntu Server 詳細設定
2019.10.28 番外編 無線LAN接続設定
2019.11.02 第4回 Apache WEBサーバ設定
2019.11.05 第5回 PHP 設定
2019.11.10 第6回 MySQL 設定
2019.11.11 第7回 DNS (bind) 設定
2019.11.16 第8回 メールサーバ(Postfix)設定・前編
2019.11.21 第9回 メールサーバ(Postfix)設定・後編
2019.11.24 第10回 ファイアウォール(iptables) 設定
2019.11.25 第11回 crontab 設定
2019.12.01 第12回 運用準備
2019.12.03 第13回 Windowsパソコンに開発環境を作る
2019.12.05 第14回 WEBサーバー公開
2019.12.10 第15回 動的サイト制作
2019.12.11 第16回 簡単なアクセスカウンターを作る
2020.03.04 TTGO-Camera による定点観測・WEB公開
2021.03.15 第17回 サーバ・リプレイス
2021.03.27 第18回 システム移行
2022.09.12 第19回 InnoDBトラブル
【ラズパイで作る自宅WEBサーバ構築 ubuntu22】
2025.06.09 前準備
2025.06.10 第1回 Ubuntu Server インストール
2025.06.11 第2回 Ubuntu Server 詳細設定
2025.06.12 第3回 Apache WEBサーバ設定
2025.06.13 第4回 PHP 設定
2025.06.14 第5回 MySQL 設定
2025.06.15 第6回 DNS (bind) 設定
2025.06.16 第7回 メールサーバ(Postfix)設定・前編
2025.06.17 第8回 メールサーバ(Postfix)設定・後編
2025.06.18 第9回 ファイアウォール(iptables) 設定
2025.06.19 第10回 crontab 設定
2025.06.20 第11回 運用
2025.06.21 第12回 保守
2025.06.22 第13回 Windows開発環境
2025.07.08 第14回 障害対応 SSD故障
2026.01.16 第15回 Samba導入
2026.02.18 第16回 勘定システム
【Raspberry Pi関連】
2021.02.09
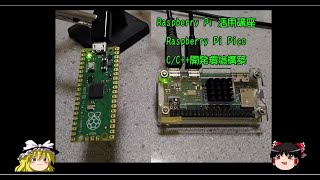
Raspberry Pi Pico 開発環境構築
2021.04.04
Raspberry Pi Pico Explorer Base
2021.06.07
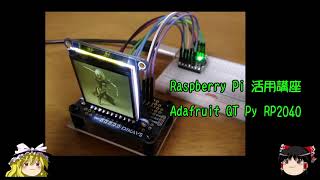
Adafruit QT Py RP2040
2021.06.15
IchigoJam BASIC RPiで遊ぶ
2024.07.08
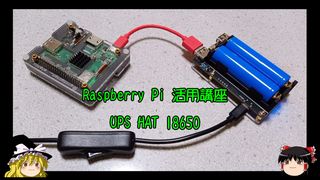
UPS HAT 18650
【周辺機器関連】
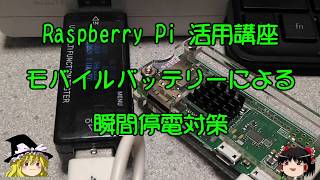
2019.12.13
モバイルバッテリーによる瞬間停電対策
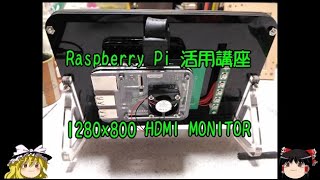
2020.01.01
1280x800 HDMI MONITOR
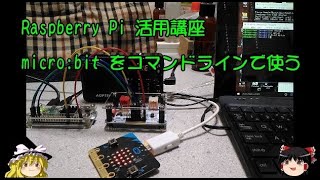
2020.01.12
micro:bitをコマンドラインで使う
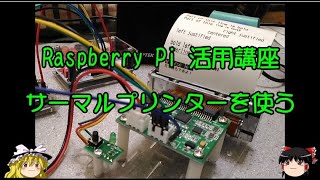
2020.02.04
サーマルプリンタを使う
2020.04.10
電卓を制御して数字を表示する
2020.08.03
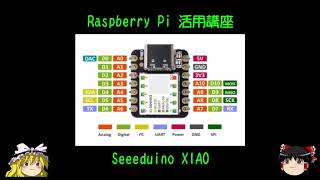
Seeeduino XIAO
2020.08.09
LGT8F328P - Arduino clone
2020.09.18
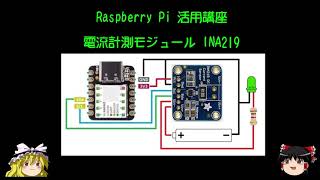
電流計測モジュール INA219
2021.02.16
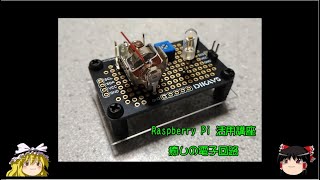
癒しの電子回路
2021.03.06
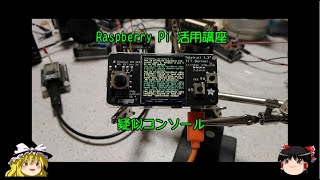
疑似コンソール
2021.08.08
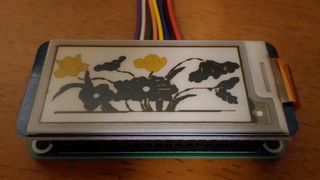
電子ペーパー
2021.09.04
AVRマイコン・ATTiny85
2021.09.25
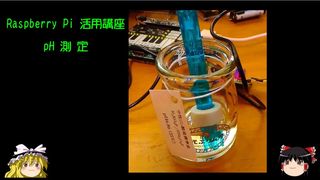
pH測定
2021.11.13
NTP時刻取得と活用
2021.11.27
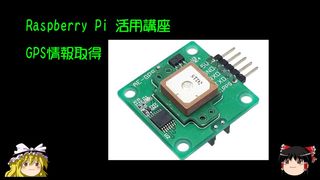
GPS情報取得
2021.12.11
GR-KURUMI
2021.12.25
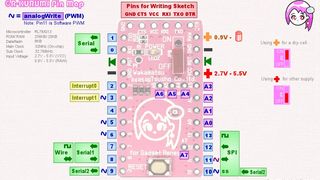
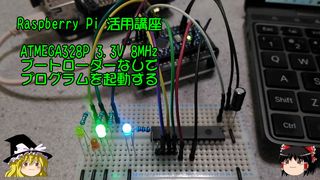
ATMEGA328P 3.3V/8MHz
2022.01.11
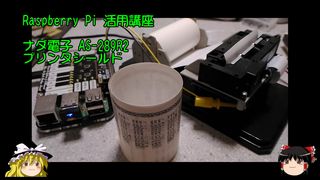
AS-289R2 プリンタシールド
2022.01.25
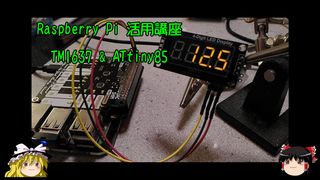
TM1637 & ATtiny85
2022.02.22
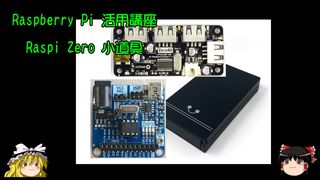
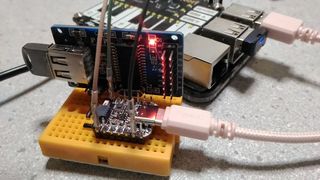
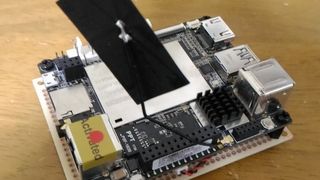
Raspberry Pi Zero 小道具
2022.03.01
ATTinyCore
2022.03.18
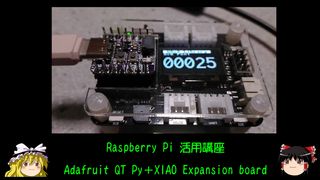
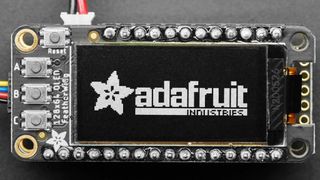
Adafruit QT Py + XIAO Expansion board
2022.07.31
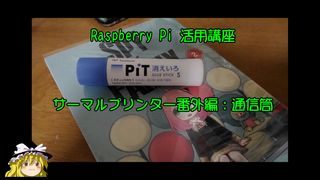
サーマルプリンター番外編:通信筒
2023.01.01
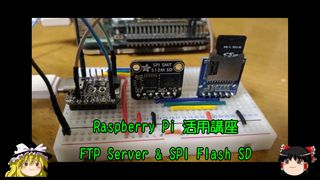
FTP Server & SPI Flash SD
2023.02.01
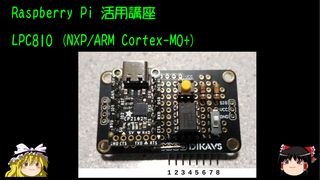
LPC810(ARM Cortex-M0+)
2023.02.15
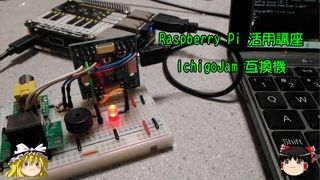
IchigoJam互換機
2023.03.01
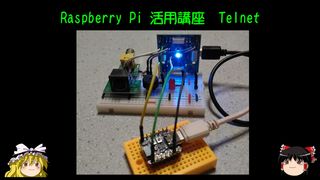
Telnet
2023.04.26
USBメモリをUART接続で利用する
2023.05.14
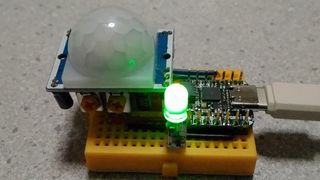
焦電型赤外線モーションセンサー
2023.07.01
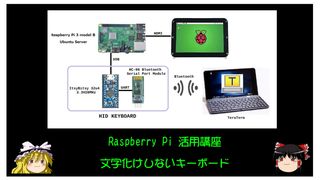
文字化けしないキーボード
2023.08.01
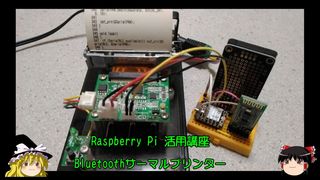
Bluetoothサーマルプリンター
2023.08.12
LattePanda 2G/32GB
2023.09.04
SI-3012KS
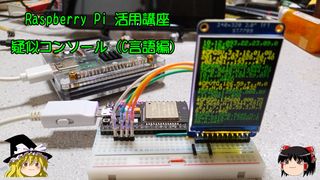
2023.12.01
疑似コンソール(C言語編)
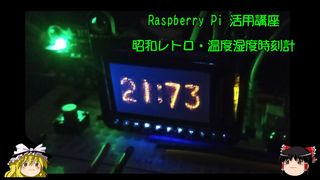
2023.12.16
昭和レトロ・温度湿度時刻計
2023.12.25
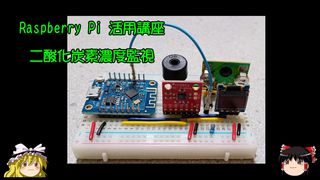
二酸化炭素濃度監視
2024.01.23
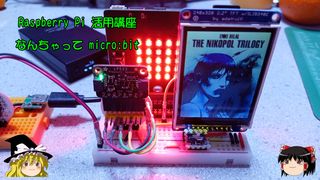
なんちゃってmicro:bit
2024.02.07
オリジナル micro:bit
2024.02.23
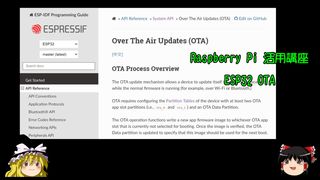
ESP32 OTA
2024.03.08
TELNETサーマルプリンター
2024.05.08
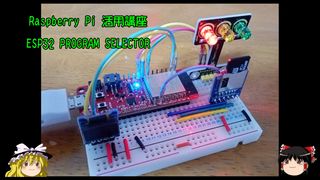
ESP32 PROGRAM SELECTOR
2024.05.23
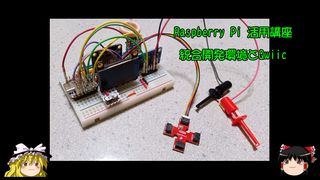
統合開発環境とQwiic
2025.01.24
赤外線リモコン
2025.03.25
QRCode SCANNER
2025.04.08
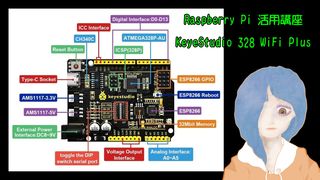
Keyestudio 328 WiFi Plus
2025.08.23
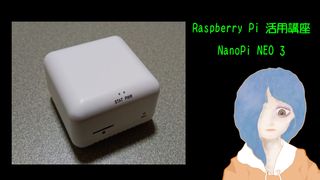
NanoPi NEO3
2025.09.24
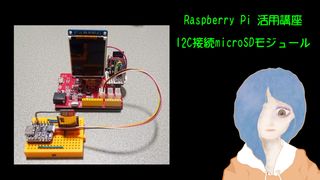
I2C接続microSDモジュール
2025.10.08
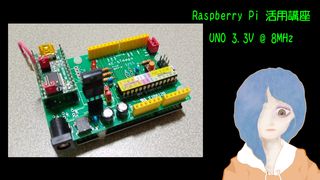
UNO 3.3V@8MHz
2026.01.29
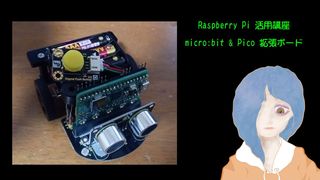
micro:bit & Pico 拡張ボード
【画像処理関連】
2020.05.28
画像処理 第1回トイカメラ
2020.06.09
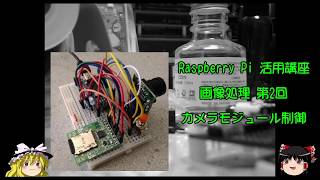
画像処理 第2回カメラモジュール制御
2020.06.28
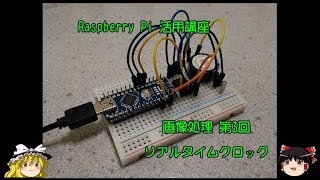
画像処理 第3回リアルタイムクロック
2020.07.08
画像処理 第4回電源回路
2020.10.27
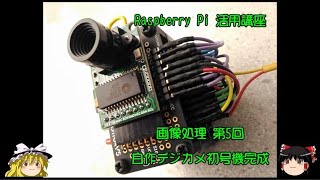
画像処理 第5回自作デジカメ初号機完成
2020.11.10
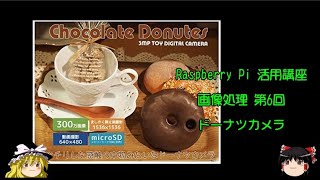
画像処理 第6回ドーナツデジカメ
2021.05.16
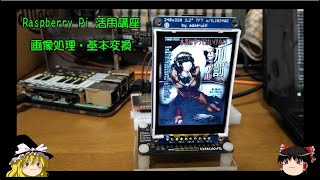
画像処理・基本変換
2021.07.10
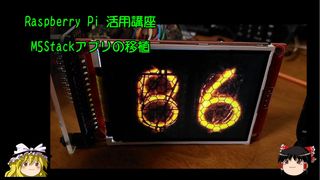
M5Stackアプリの移植
2022.04.04
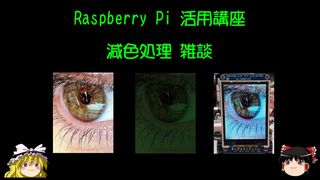
減色処理 雑談
2022.04.18
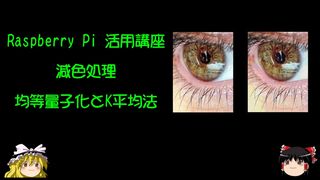
減色処理 均等量子化法とK平均法
2022.05.04
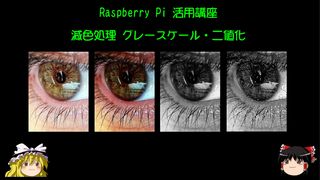
減色処理 グレースケール・二値化
2022.05.18
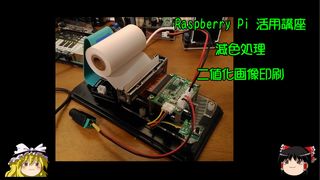
減色処理 二値化画像印刷
2022.08.12
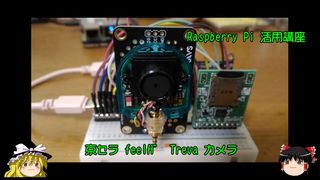
京セラ feelH” Treva カメラ
2022.10.15
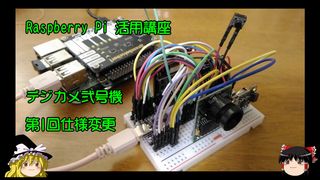
デジカメ弐号機 1.仕様変更
2022.10.21
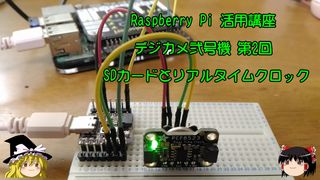
デジカメ弐号機 2.SDカードとRTC
2022.11.04
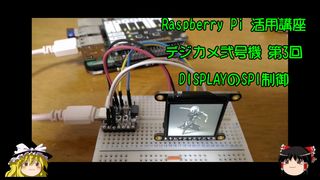
デジカメ弐号機 3.SPI DISPLAY
2022.11.18
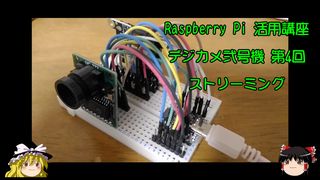
デジカメ弐号機 4.ストリーミング
2022.12.02
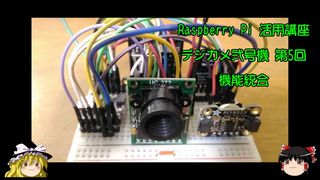
デジカメ弐号機 5.機能統合
2022.12.17
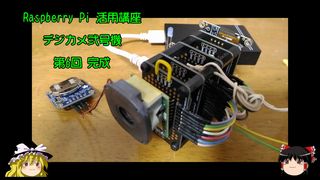
デジカメ弐号機 6.完成
2023.05.15
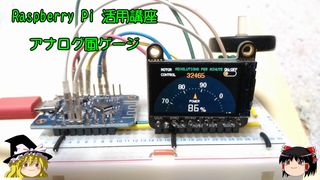
アナログ風ゲージ
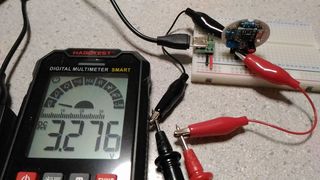
2023.06.01
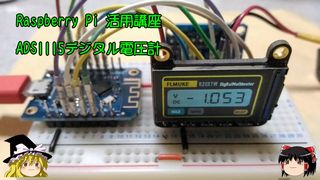
ADS1115デジタル電圧計
2023.10.01
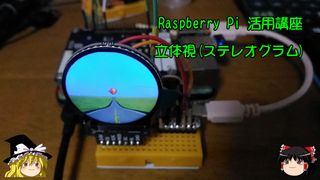
立体視(ステレオグラム)
2023.10.16
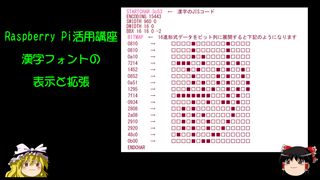
漢字フォントの表示と拡張
2024.04.08
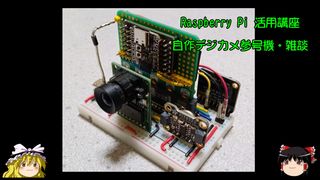
自作デジカメ参号機・雑談
2024.08.24
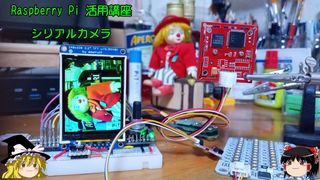
シリアルカメラ
2025.07.23
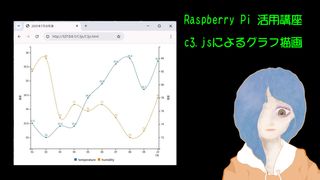
C3.jsによるグラフ描画
2025.09.09
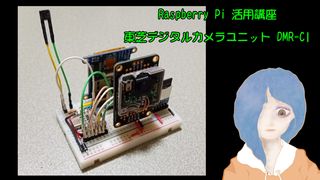
東芝デジタルカメラユニット DMR-C1
2025.10.10
AQM1248A小型液晶ボード
2025.10.11
Monochrome OLED
2025.12.31
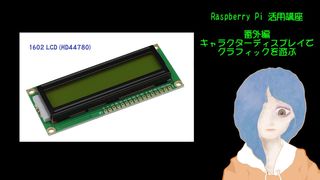
キャラクターディスプレイで遊ぶ
2026.03.03
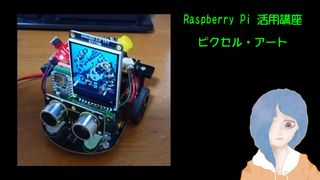
ピクセル・アート
【音楽関連】
2020.01.05
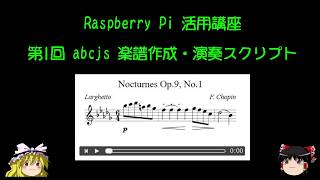
第1回 abcjs 楽譜作成・演奏スクリプト
2020.01.09
I2S通信によるハイレゾ音源再生
2020.01.18
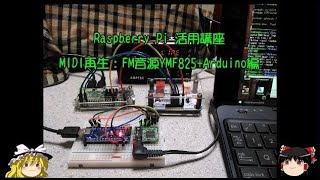
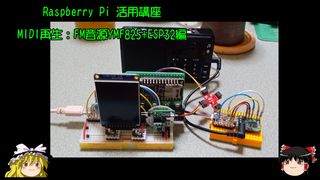
MIDI再生:FM音源YMF825+Arduino編
2020.01.24
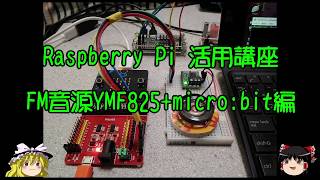
FM音源YMF825+micro:bit編
2020.02.13
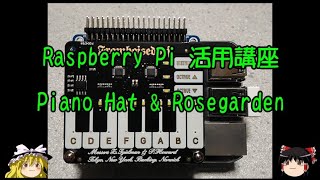
Piano Hat & Rosegarden
2020.03.18
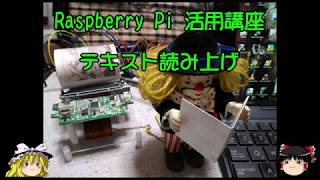
テキスト読み上げ gTTS
2020.05.19
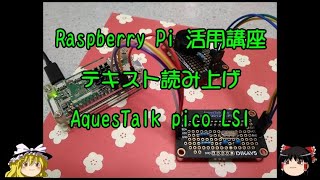
テキスト読み上げ AquesTalk pico LSI
2020.06.22
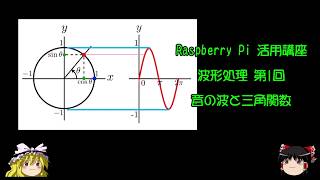
波形処理 第1回 音の波と三角関数
2020.07.22
波形処理 第2回 平均律と純正律
2020.08.26
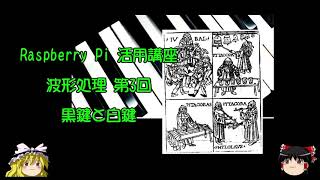
波形処理 第3回 黒鍵と白鍵
2020.11.21
深層学習 第1回環境整備
2020.12.19
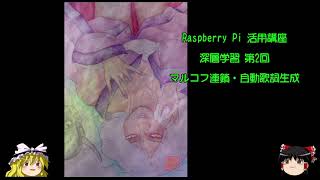
深層学習 第2回マルコフ連鎖・自動歌詞生成
2021.01.02
深層学習 第3回コード進行解析
2021.01.16
波形処理 第4回 コード演奏
2021.08.07
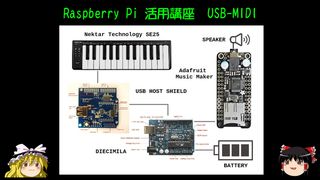
MIDI制御/Adafruit Music Maker
2021.08.23
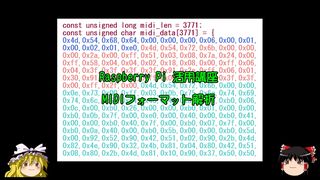
MIDIフォーマット解析
2021.10.10
音声ファイルの切貼り
2022.09.16
USB-MIDI
2023.01.16
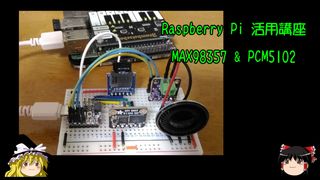
MAX98537 & PCM5102
2023.03.15
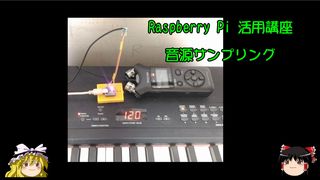
音源サンプリング
2023.06.16
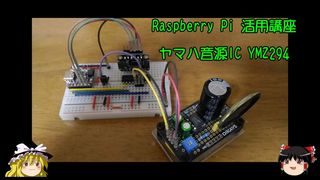
ヤマハ音源IC YMZ294
2024.01.07
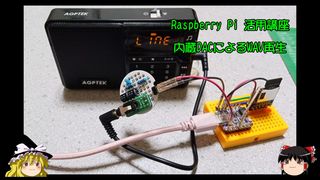
内蔵DACによるWAV再生
2024.03.23
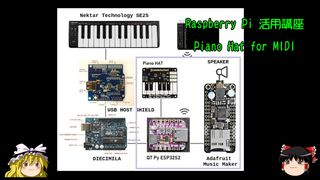
Piano Hat for MIDI
2024.08.08
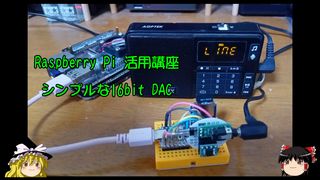
シンプルな16bit DAC
2024.09.09
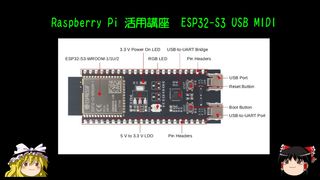
ESP32-S3 USB MIDI
2024.11.10
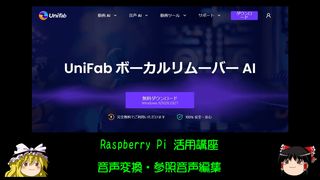
音声変換・参照音声編集
2024.11.24
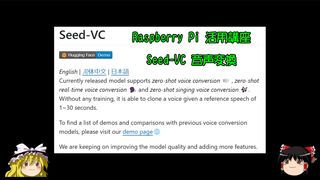
音声変換 Seed-VC
2024.12.11
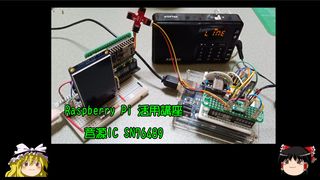
音源IC SN76489
2025.01.10
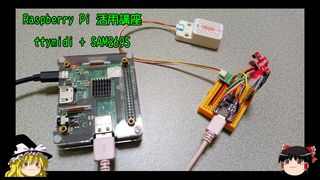
ttymidi + SAM2695
2025.02.08
YMF825 + ESP32
2025.05.08
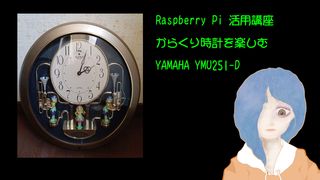
Small World 4MH711
YAMAHA YMU251-D
2025.05.23
Small World 4MH711
NJM2073
2025.06.08
Small World 4MH711
オリジナル・クロック
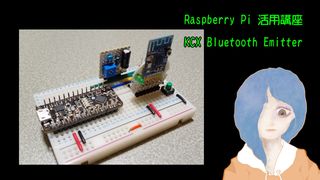
2025.06.23
Bluetooth Emitter
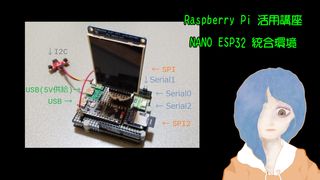
2025.11.20
NANO ESP32 統合環境
2025.11.24
MIDIキーボード→VS1053再生
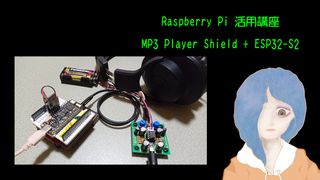
2025.12.08
MP3 Player Shield
【ドローン・ロボット関連】
2022.05.27
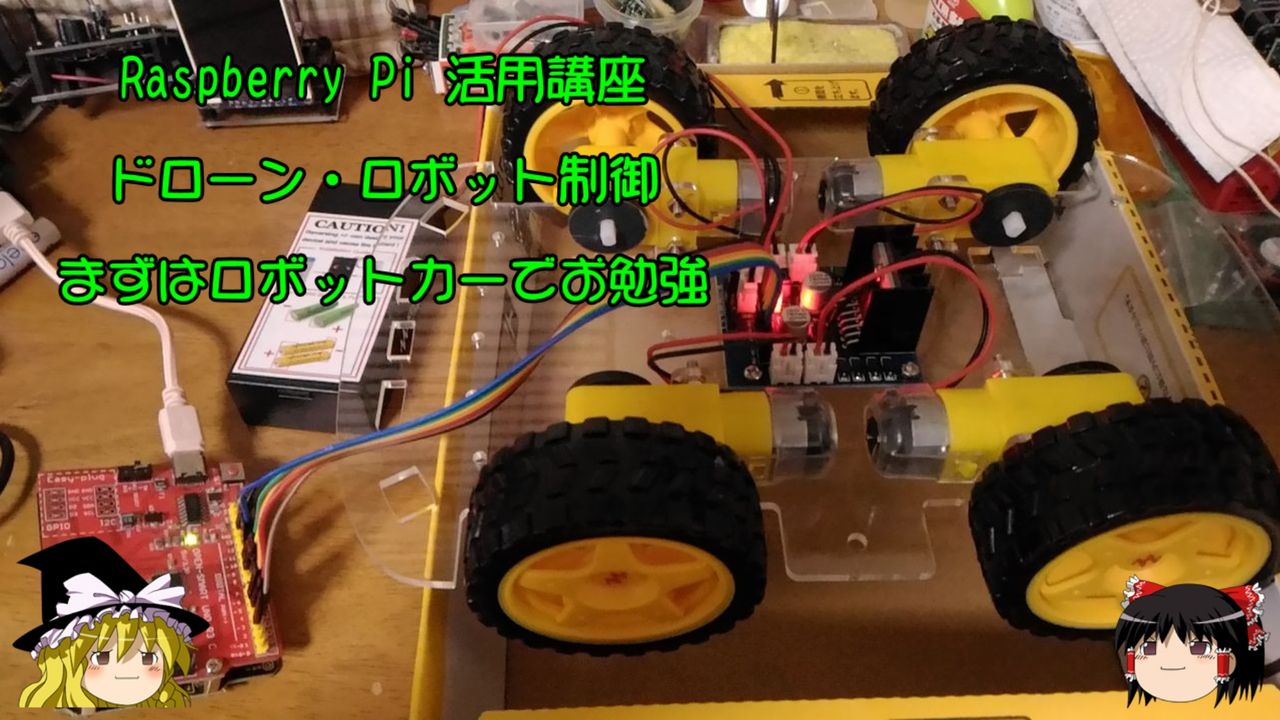
まずはロボットカーでお勉強
2022.06.10
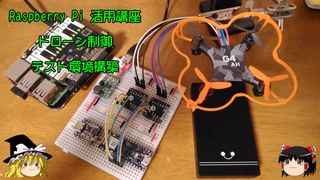
第1回テスト環境構築
2022.07.02
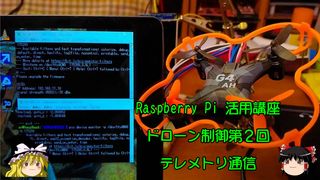
第2回テレメトリ通信
2024.06.23
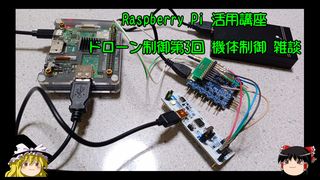
第3回 機体制御 雑談
2024.07.23
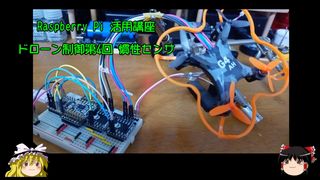
第4回 慣性センサ
2025.02.22
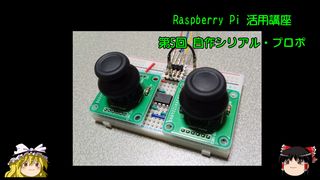
第5回 自作シリアル・プロポ
2025.03.10
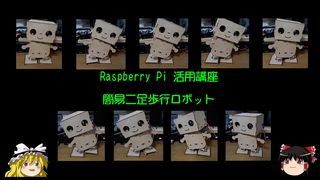
簡易二足歩行ロボット
2025.04.24
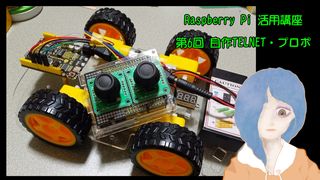
第6回 自作TELNET・プロポ
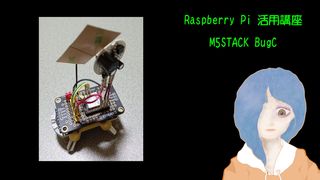
2025.10.23
M5STACK BugC
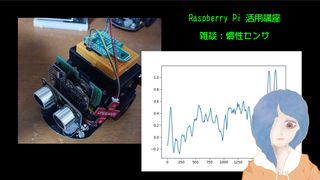
2026.03.24
雑談:慣性センサ
【INTERNET関連】
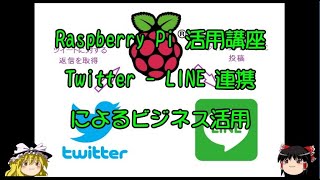
2020.04.24
Twitter-LINE連携によるビジネス活用
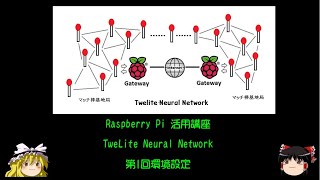
2021.02.27
TweLite Neural Network 第1回環境設定
2021.07.24
形態素解析 TreeTagger
2023.09.01
XMLParser
2023.09.16
RSSフィード読上げ Emic2
2023.11.01
Internet Radio
2024.09.24
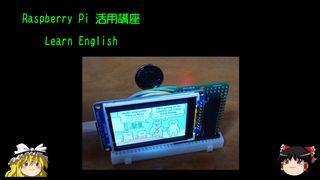
Learn English
【デスクトップ関連】
2020.02.24
電子組版 upLaTeX
2021.04.14
無線LAN動的切替え
2021.04.26
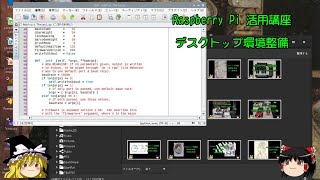
デスクトップ環境整備
2021.05.01
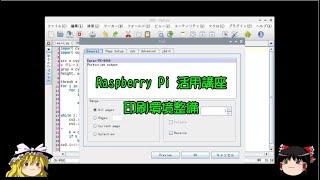
印刷環境整備
【開発環境関連】
2019.12.19
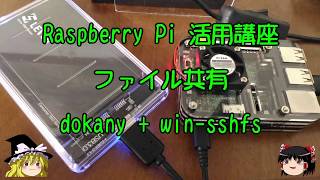
ファイル共有 dokany + Win-sshfs
2019.12.26
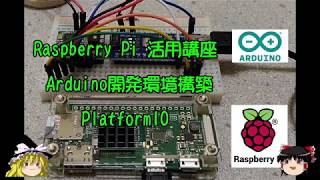
Arduino開発環境構築 PlatformIO
2022.02.08
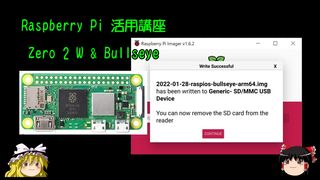
Zero 2 W と Bullseye
2022.07.15
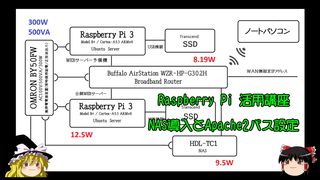
NAS導入とApache2パス設定
2023.04.01
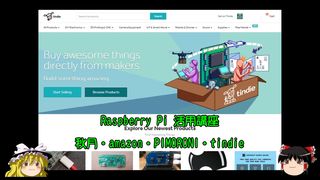
秋月・amazon・PIMORONI・tindie
2023.07.16
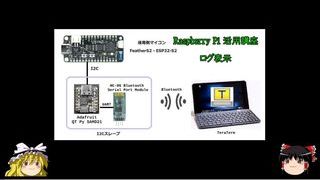
ログ表示
2024.04.23
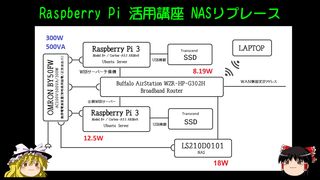
NASリプレース
2024.10.24
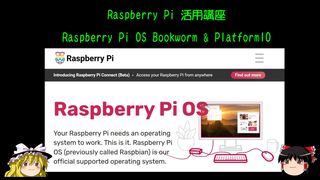
Bookworm & PlatformIO
2025.08.09
ESP32 WEB SERVER
Copyright © 2011-2027 Sarako Tsukiyono All rights reserved®.